# Wi-Fi
If selecting Wi-Fi as the method to connect to the SolaXCloud, you need to configure the Wi-Fi network. The following show you the method for configuring the Wi-Fi.
# Steps
Step 1: At the login page, select More > Network Configuration. Or tap + at the upper right corner of the homepage, to select Add Device from the drop-down menu.
Step 2: Select the correct device type from the pictures below according to the device you have.
Step 3: Add the deivce in a proper method according to your device.
- Tap Scan to scan the Pocket QR code.
- Manually enter the Pocket registration number.
- Automatically search for the device via Bluetooth (only for devices equipped with bluetooth, for example Pocket WiFi 4.0, Pocket WiFi+LAN 2.0, and Shelly devices).
Step 4: Configure the network.
Select Wi-Fi as the communication mode (only for Pocket Wi-Fi+4G. Pocket Wi-Fi and Pocket Wi-Fi+LAN not required).
Select an available Wi-Fi and enter the password.
Select the IP configuration manner.
- If selecting the DHCP, there is no other additional configuration.
- If selecting the static IP, you need to enter the network parameters manually, including IP address, subnet mask, gateway, and possible DNS server address.
Tap Next.
[!Note] Users whose phone brand is NOT vivo, HUAWEI, and OPPO can directly skip from this step to Step 6.
Step 5: Tap Connect, and switch the phone WLAN to the device hotspot. The hotspot name is: Wifi_device SN. After that, return to the SolaXCloud App.
Step 6: When the system enters the following page, wait until the device connects to the site and SolaXCloud. When all items are  , it indicates that the device connects to the SolaXCloud successfully. Tap Finish.
[!Note] If the device failed in networking, find the corresponding solution according to the error code.
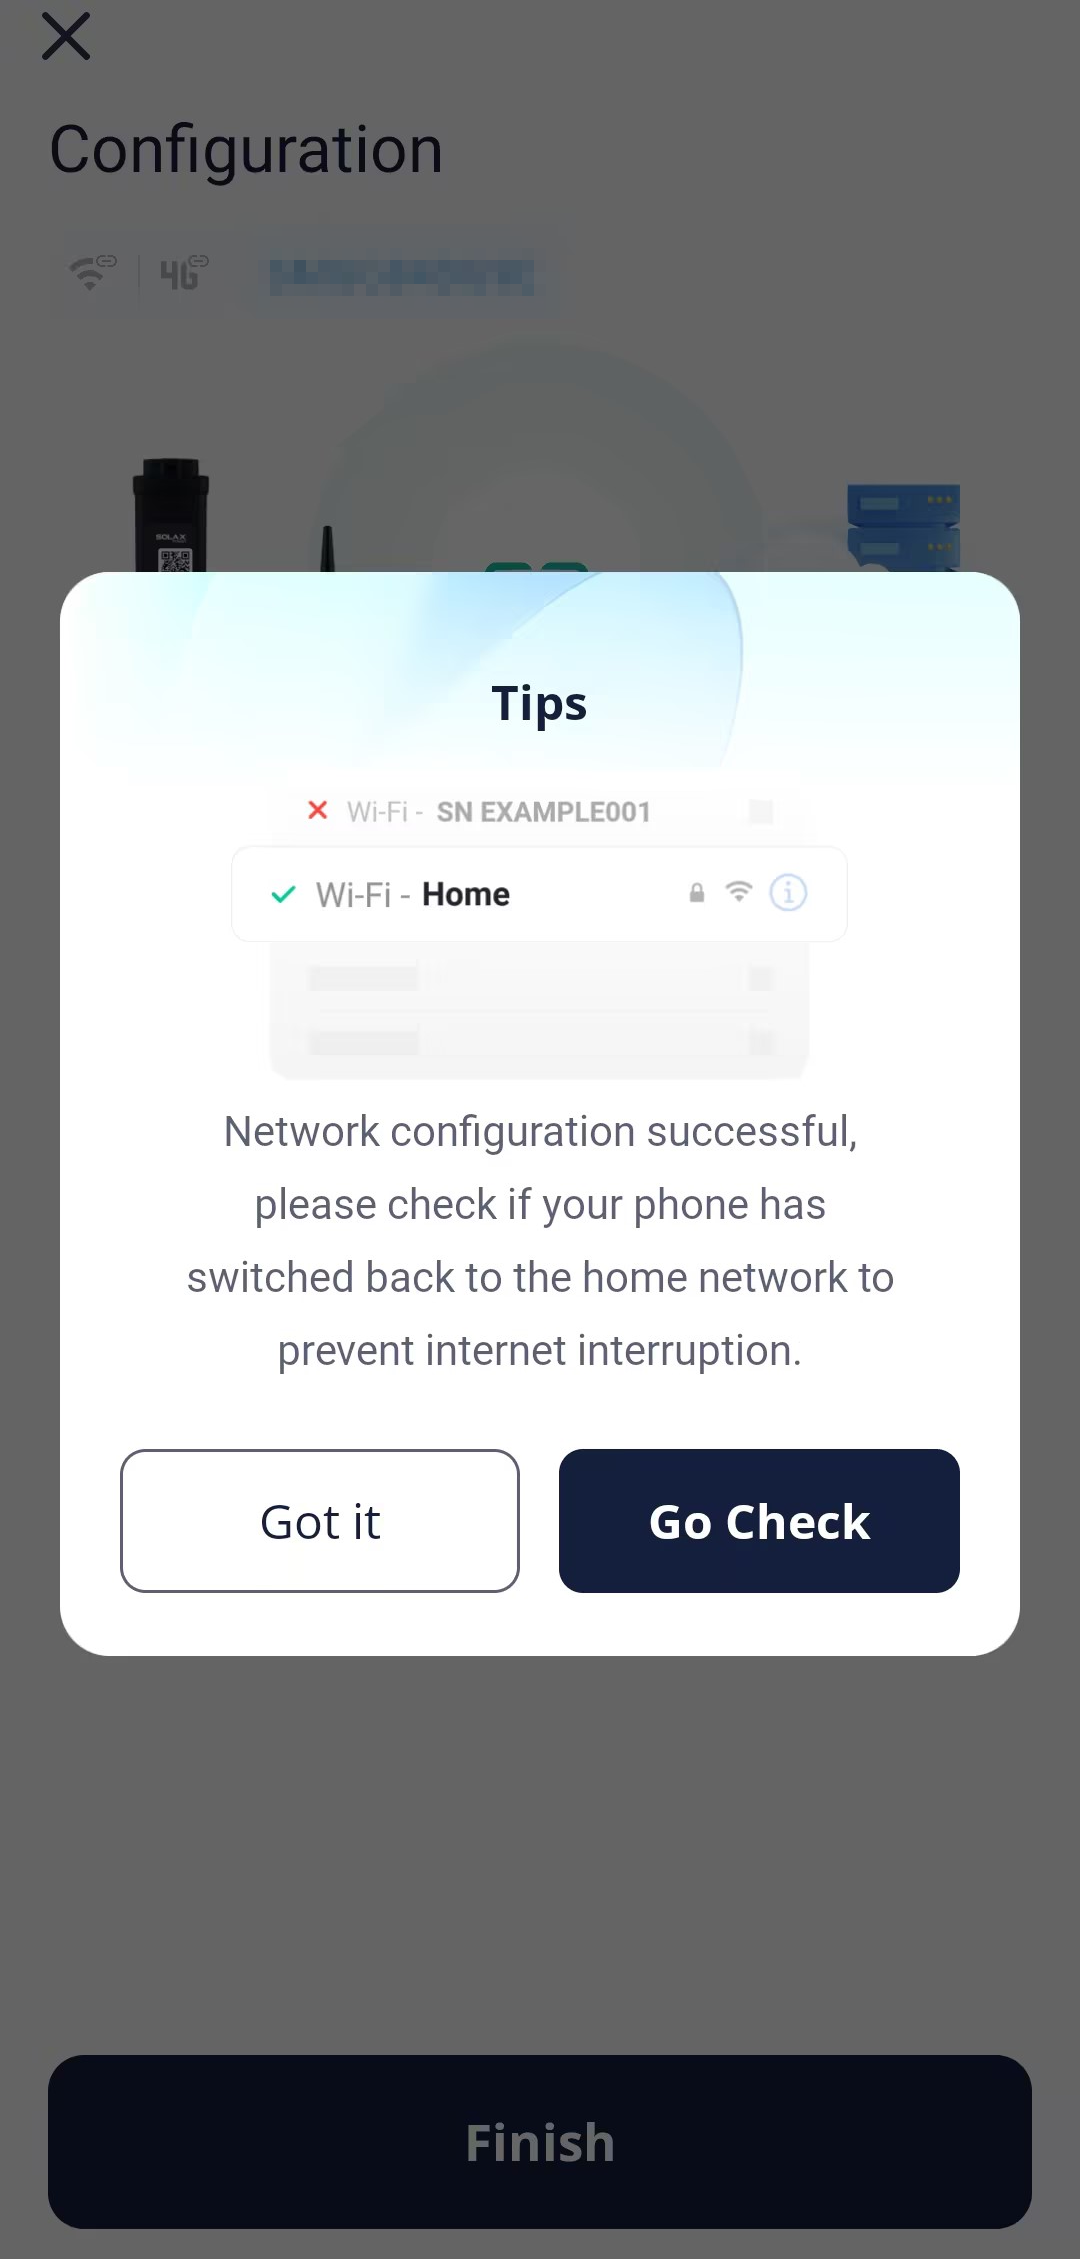
Step 7: Tap Go Check, to ensure that the phone WLAN has been switched to the family Wi-Fi. After switchover, return to this App and tap Got it.
[!Note] After connecting your device to the SolaXCloud, you can view the detials and set the device remotely at Homepage > Device.
[!Note] After the device has been connected to the cloud for 5 minutes, you can check the result of connection. Generally, there are two status for a device:
indicates that the network configuration succeeded and the device is connected to the SolaXCloud.
indicates that the device has been bound with the plant, but the network has not been configured successfully or the device data has not been uploaded to the cloud. You may wait for a while to refresh or go to reconfigure the network. For the method for re-configuring the network, repeat the steps above.
[!Note] If you exit from device adding accidentally or want to add another device to the already existing site, you can start from the following entrances:
- Entrance 1: Tap + at the upper right corner of the homepage → Select Add device.
- Entrance 2: Select Device from the navigation bar → Tap + at the upper right corner to add a device.