
# 4G
Because there are differences between Pocket 4G and Pocket Wi-Fi+4G in networking, the following provides corresponding networking steps separately. Please following the guidance consistent with the communication type of device.
# Steps
Pocket Wi-Fi+4G (selecting 4G)
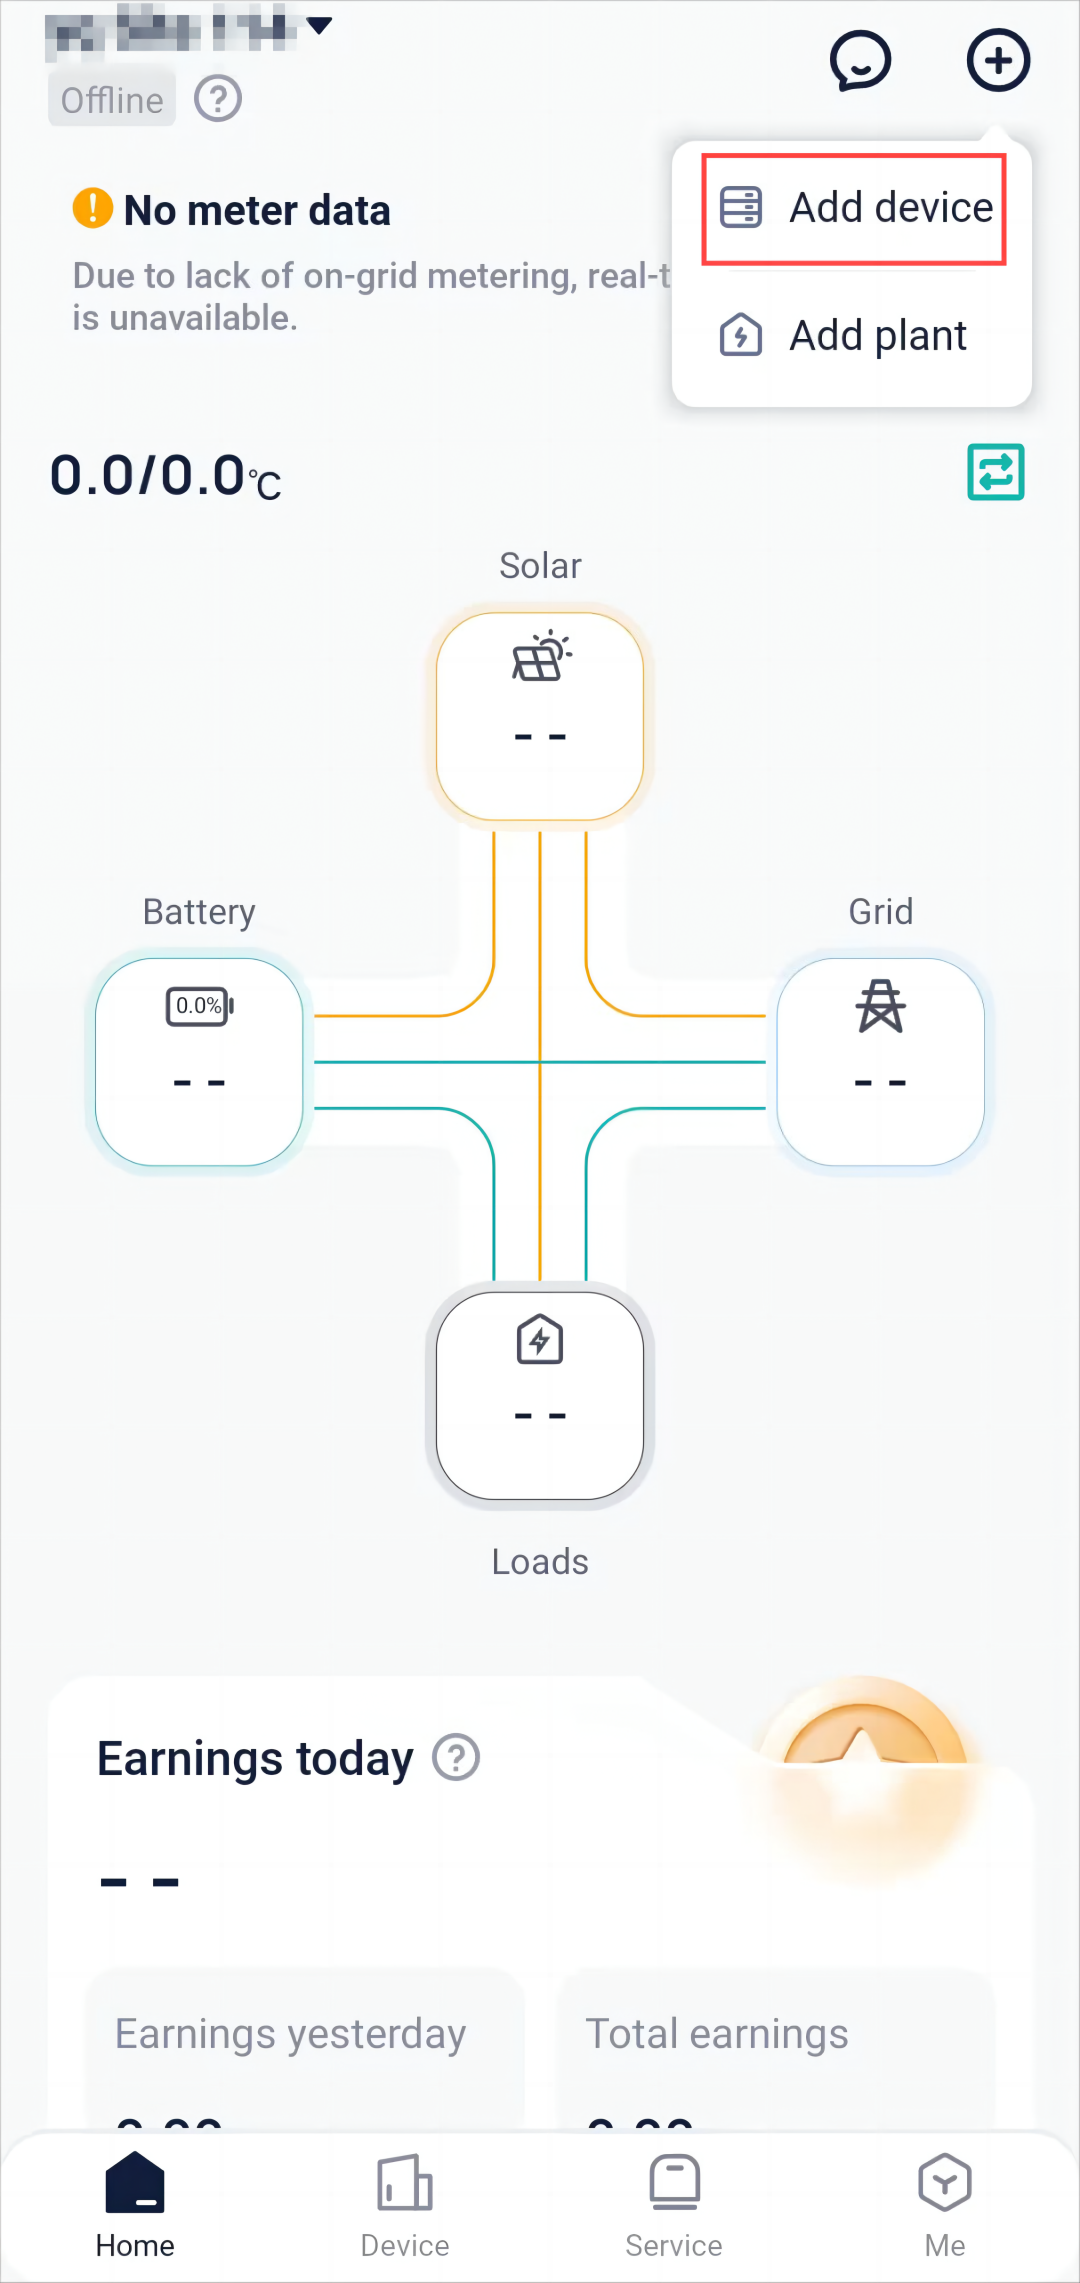
Step 1: At the login page, select More > Network Configuration. Or tap + at the upper right corner of the homepage, to select Add Device from the drop-down menu.

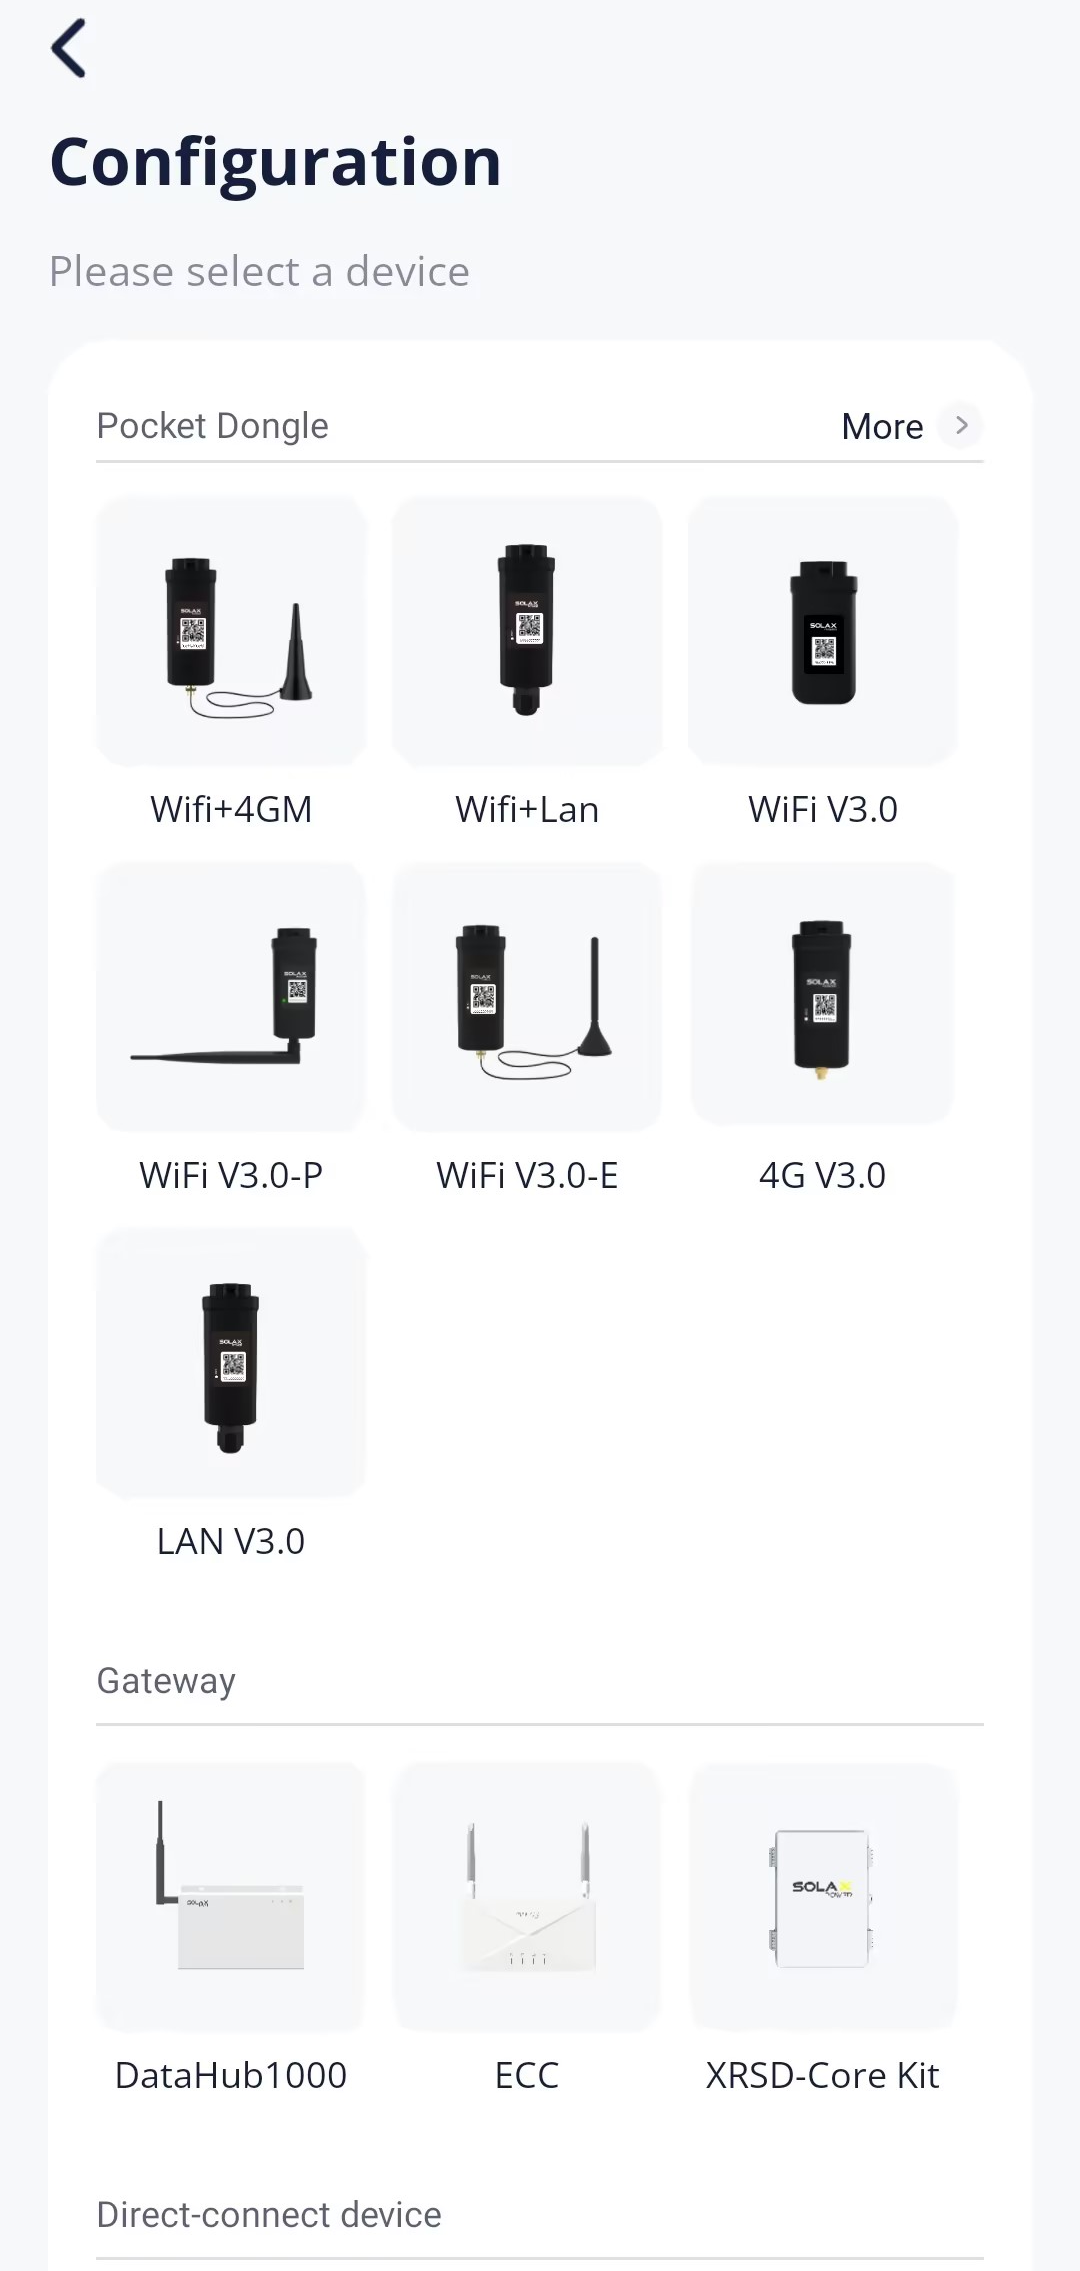
Step 2: Select the correct device type from the pictures below according to the device you have.

Step 3: Tap Scan to scan the Pocket QR code or manually enter the Pocket registration number. After the registration number is identified successfully, tap Next.

Step 4: Select 4G as the communication method. Enter the APN. Select the network deployment. Tap Next.
[!Note] Users whose phone brand is NOT vivo, HUAWEI, and OPPO can directly skip from this step to Step 6.
Step 5: Tap Connect, and switch the phone WLAN to the device hotspot. The hotspot name is: Wifi_device SN. After that, return to the SolaXCloud App.
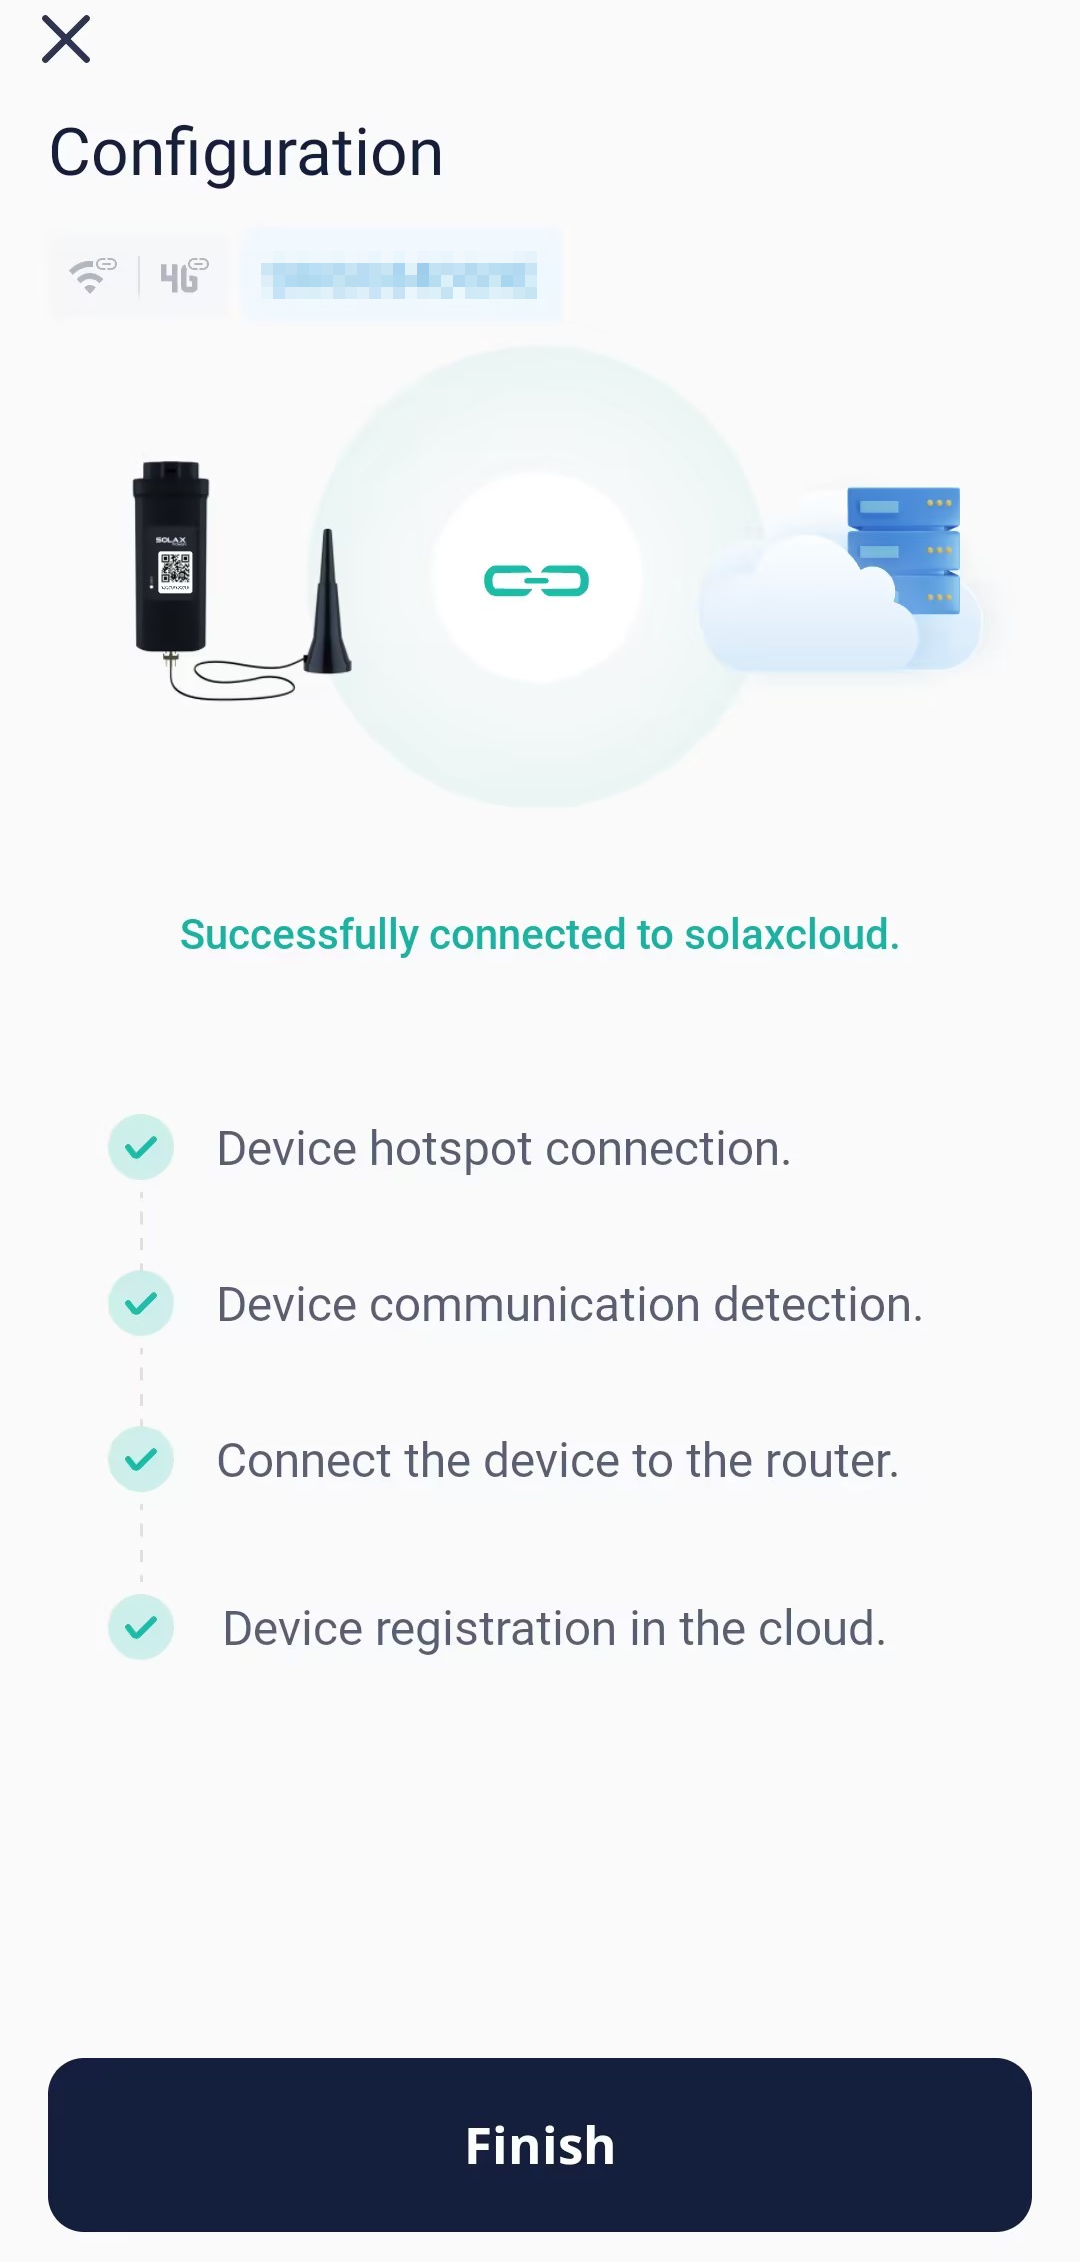
Step 6: When the system enters the following page, wait until the device connects to the site and SolaXCloud. When all items are  , it indicates that the device connects to the SolaXCloud successfully. Tap Finish.
[!Note] If the device failed in networking, find the corresponding solution according to the error code.
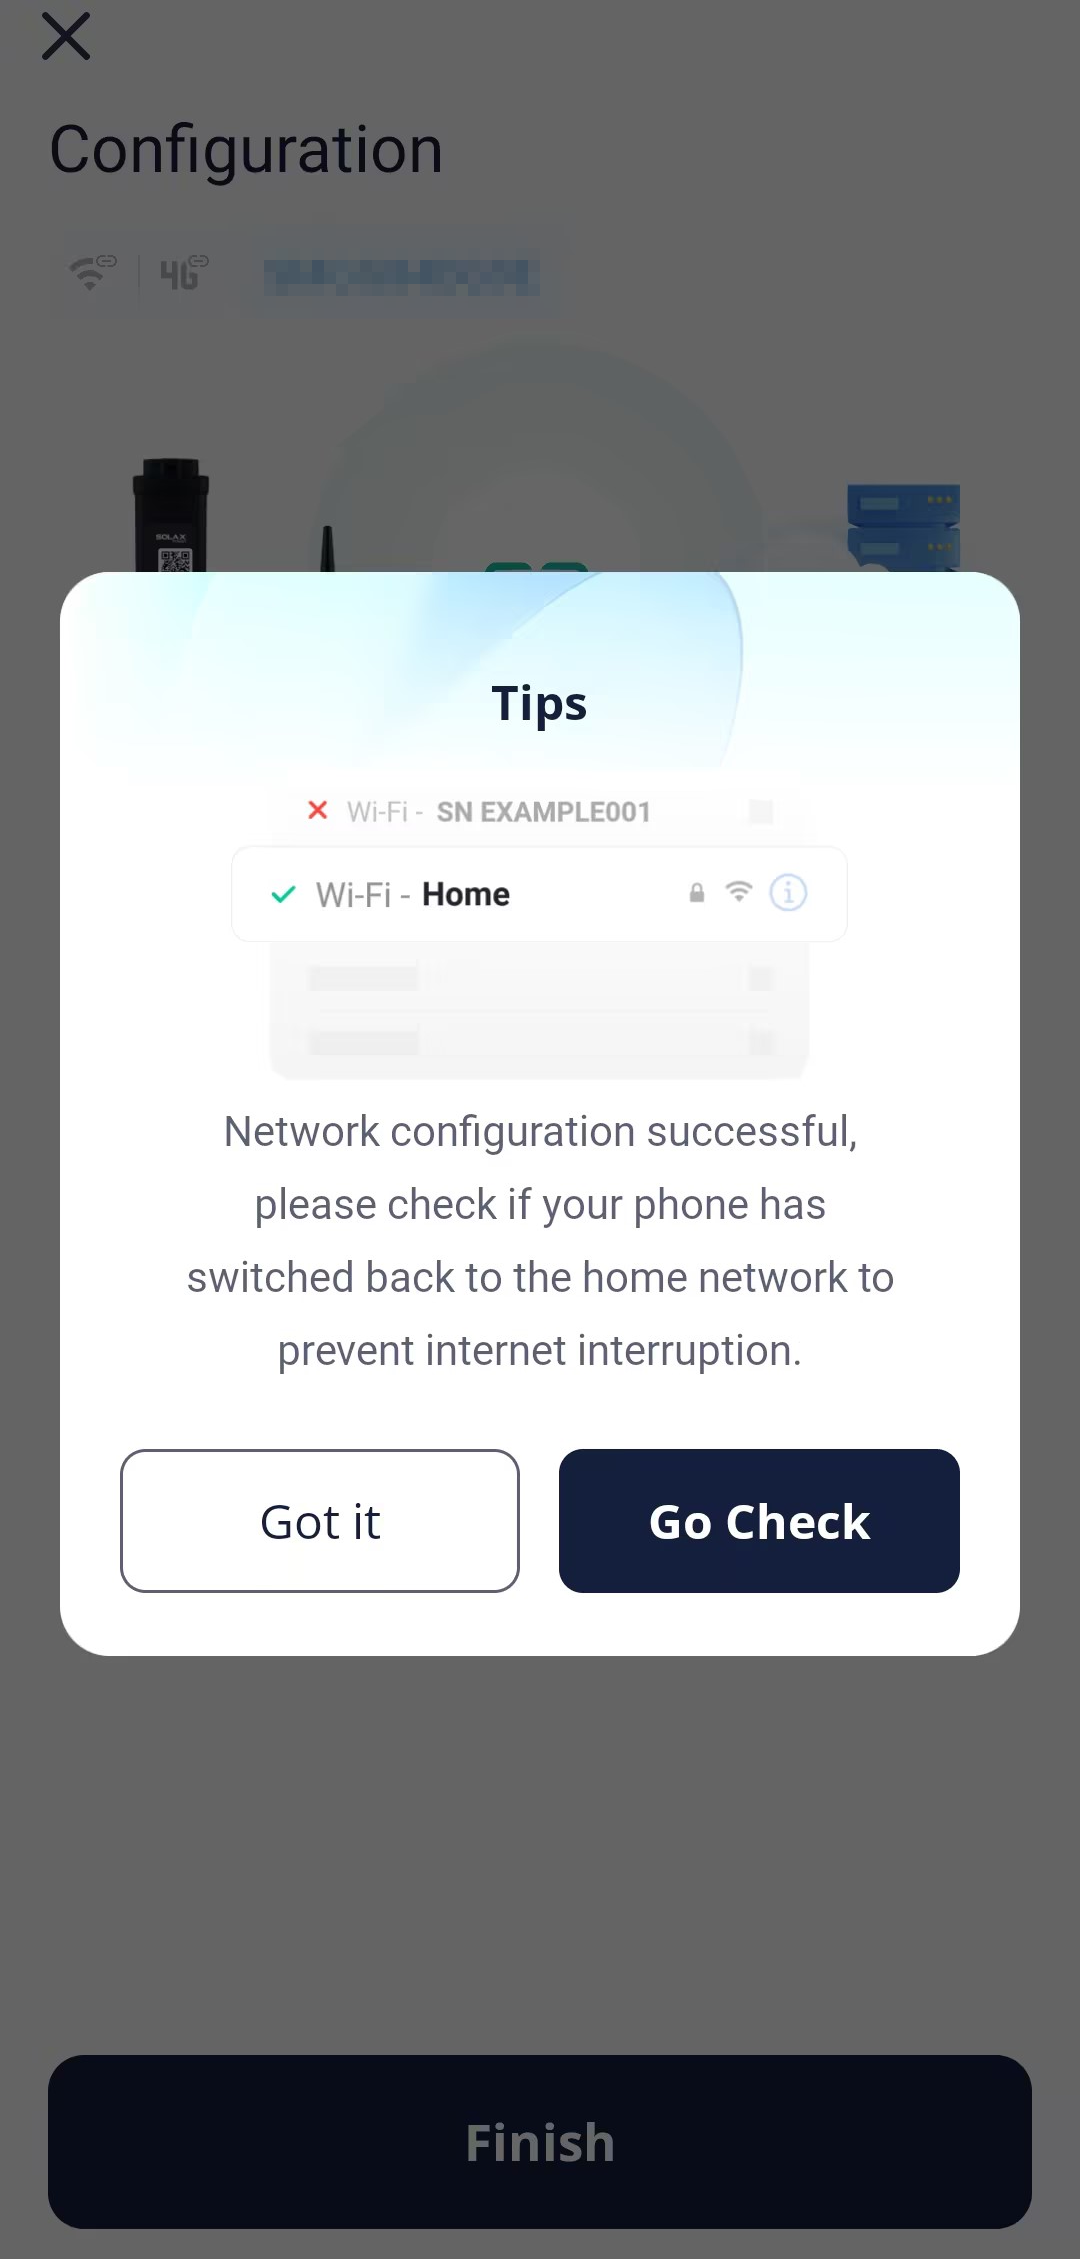
Step 7: Tap Go Check, to ensure that the phone WLAN has been switched to the family Wi-Fi. After switchover, return to this App and tap Got it.
[!Note] After connecting your device to the SolaXCloud, you can view the detials and set the device remotely at Homepage > Device.
[!Note] After the device has been connected to the cloud for 5 minutes, you can check the result of connection. Generally, there are two status for a device:
indicates that the network configuration succeeded and the device is connected to the SolaXCloud.
indicates that the device has been bound with the plant, but the network has not been configured successfully or the device data has not been uploaded to the cloud. You may wait for a while to refresh or go to reconfigure the network. For the method for re-configuring the network, repeat the steps above.
[!Note] If you exit from device adding accidentally or want to add another device to the already existing site, you can start from the following entrances:
- Entrance 1: Tap + at the upper right corner of the homepage → Select Add device.
- Entrance 2: Select Device from the navigation bar → Tap + at the upper right corner to add a device.
Pocket 4G
Step 1: Tap + at the upper right corner of the homepage, to select Add Device from the drop-down menu.
Step 2: Select the correct device type from the pictures below according to the device you have.
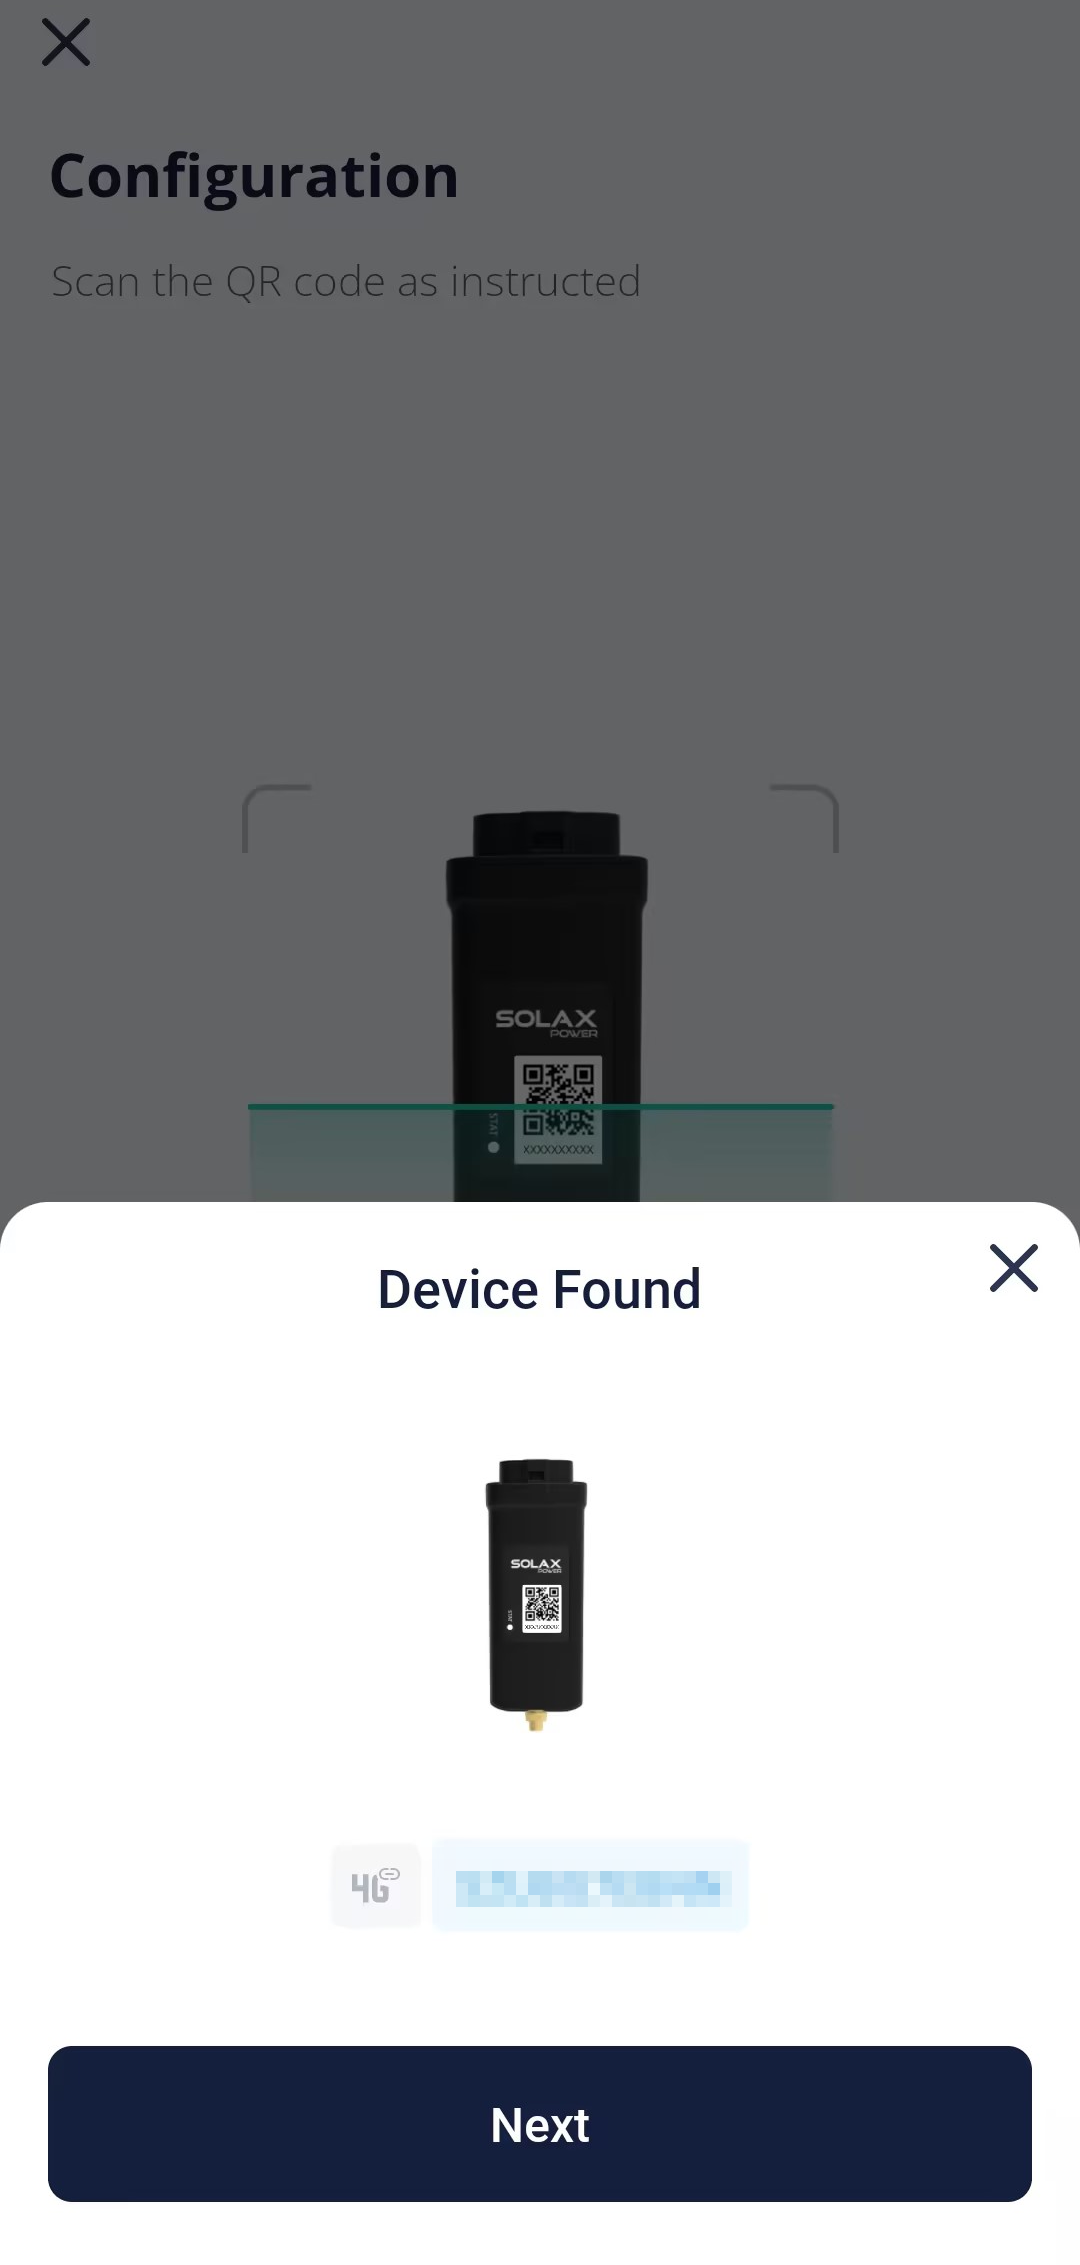
Step 3: Tap Scan to scan the Pocket QR code or manually enter the Pocket registration number. After the registration number is identified successfully, tap Next.

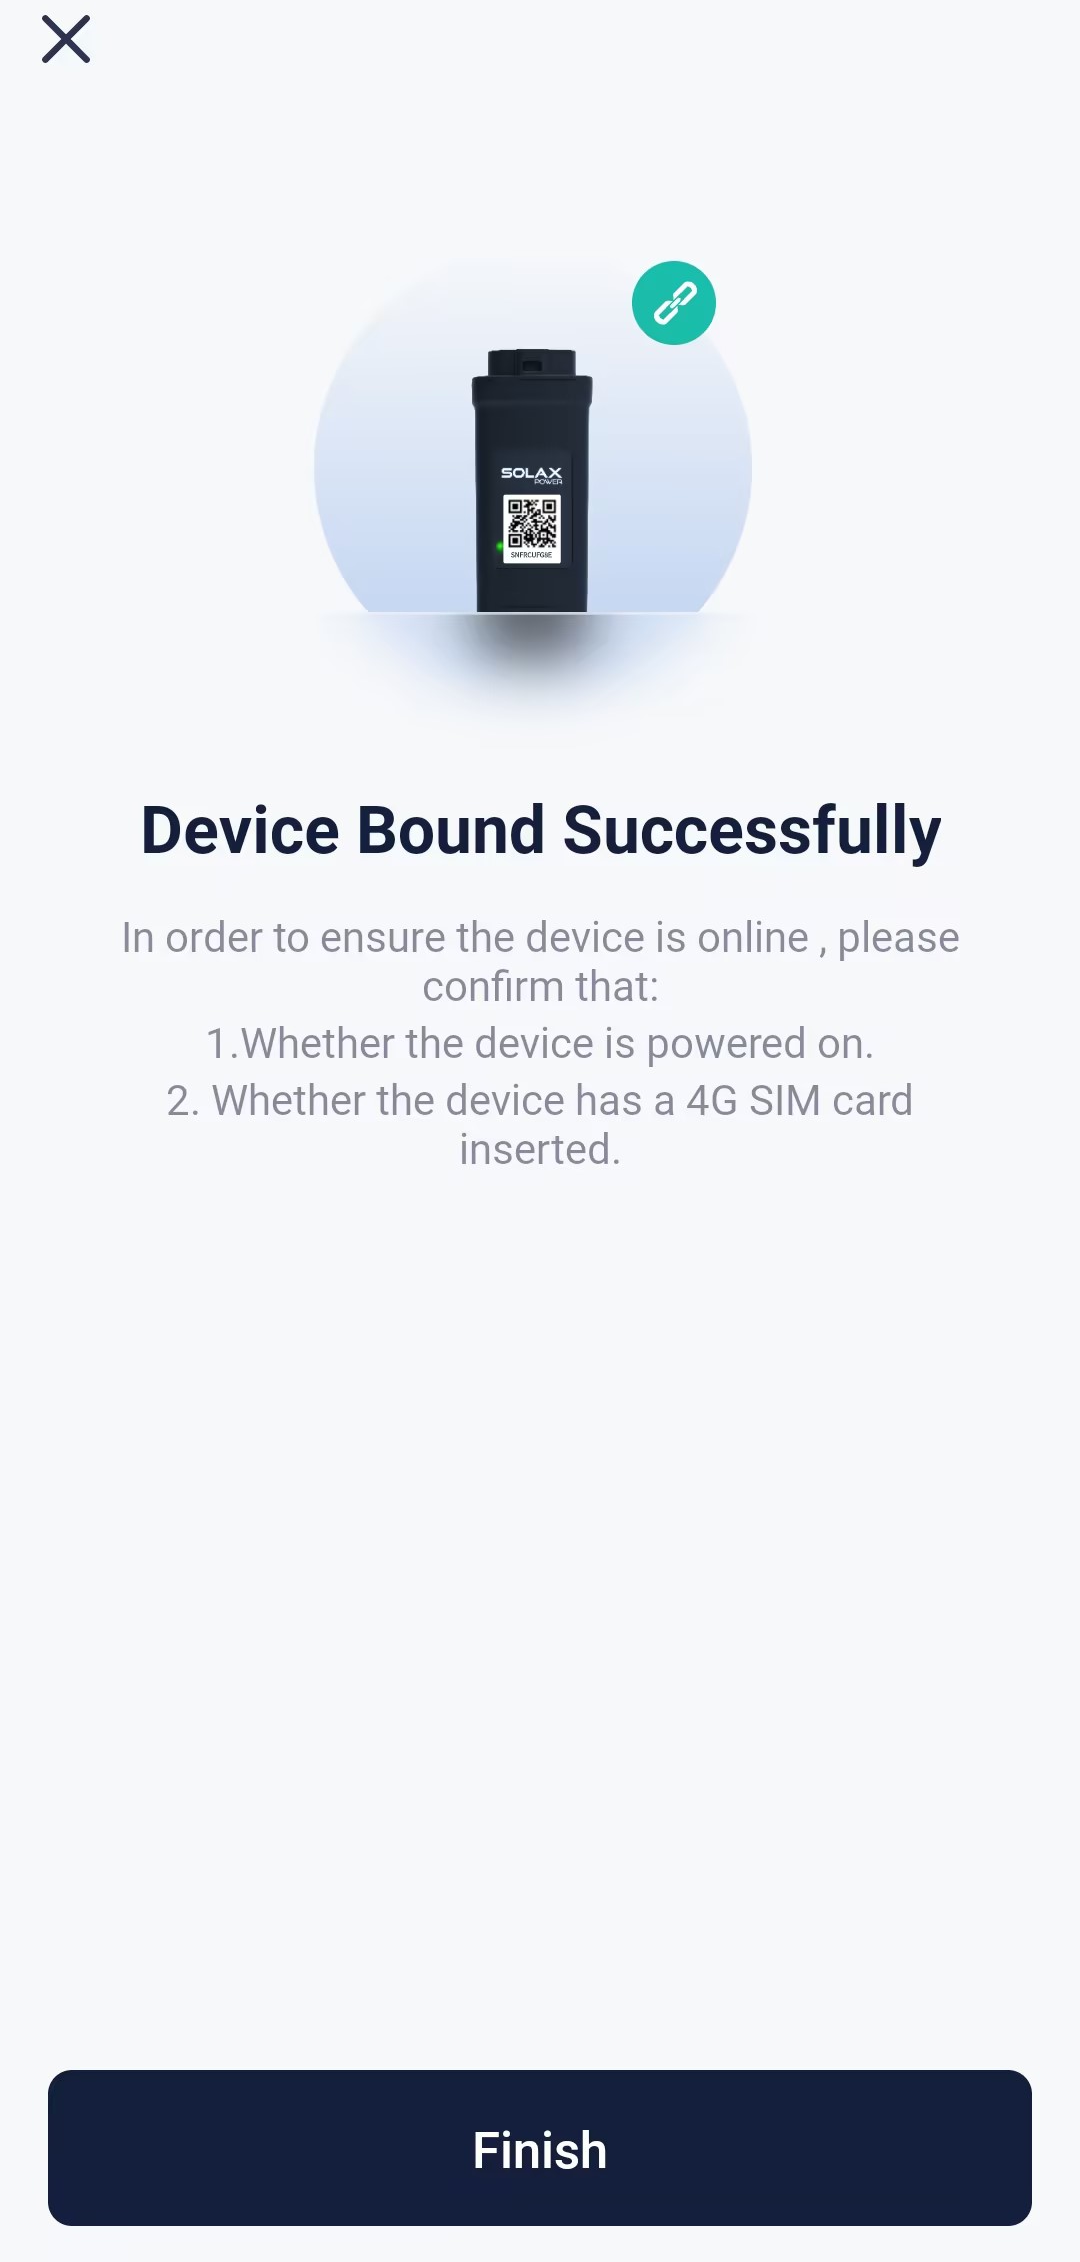
Step 4: Tap Finish when this page appears. When a device is bound with a site, it indicates that the device can connect to the SolaXCloud.
[!Note] After connecting your device to the SolaXCloud, you can view the detials and set the device remotely at Homepage > Device.
[!Note] A Pocket 4G user does not need to configure the 4G network, because the network configuration data has been burned into the pocket firmware in advance.
[!Note]
- After binding, you may check the cloud connection status at the device list.
indicates that the network configuration succeeded and the device is connected to the SolaXCloud.
- If you encountered with process interruption or want to add another device to the plant, you can select the plant first at the homepage, then tap + and select Add device.